
Step-by-Step Guide to Installing Wooden Flooring
Installing wooden flooring can transform your space and add lasting value to your home. While professional installation ensures the best results, understanding the process helps you make informed decisions. Here’s your complete guide to wooden floor installation.
Before You Begin: Preparation is Key
Start by acclimating your flooring. Store the wooden planks in the installation room for 48-72 hours to adjust to the temperature and humidity. This prevents warping or gaps after installation. Remove all furniture, old flooring, and baseboards. Ensure your subfloor is clean, level, and dry—any bumps or moisture issues should be addressed now.
Step 1: Gather Your Tools and Materials
You’ll need wooden flooring planks, underlayment or moisture barrier, spacers, a measuring tape, saw, hammer, nail gun or adhesive (depending on your installation method), and a tapping block. Having everything ready saves time and frustration during installation.
Step 2: Plan Your Layout
Measure the room and plan which direction your planks will run. Typically, planks run parallel to the longest wall or toward the main light source. Start from the straightest wall and work your way across. Remember to leave a ¼-inch expansion gap around all edges to allow the wood to expand and contract naturally.
Step 3: Install the Underlayment
Roll out your underlayment or moisture barrier across the subfloor, following manufacturer instructions. This layer protects against moisture and provides sound dampening. Overlap seams slightly and tape them down to prevent shifting during installation.
Step 4: Lay the First Row
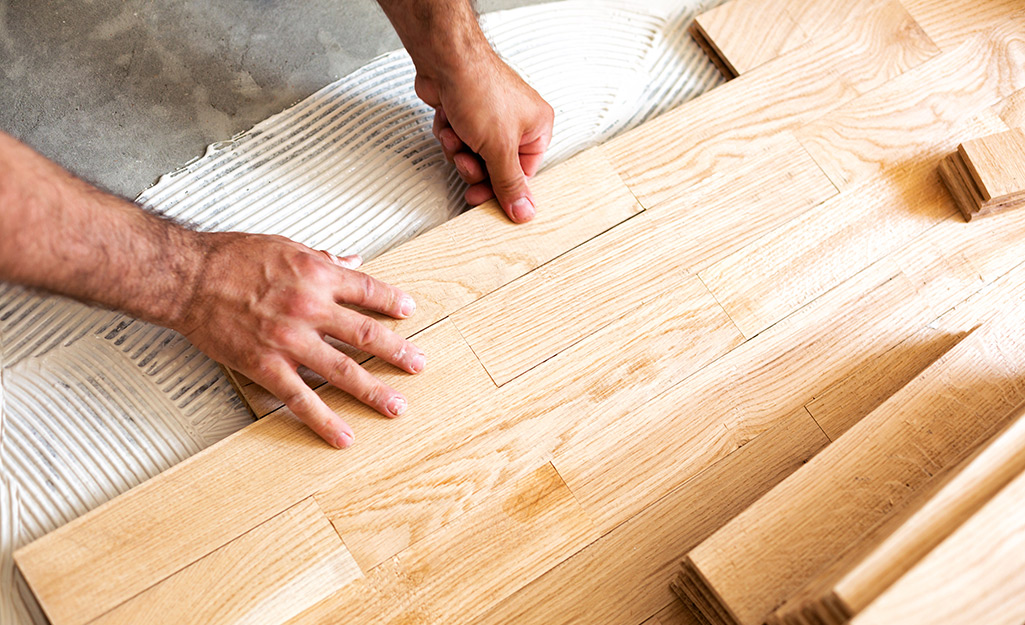
This is your foundation, so take your time. Place spacers against the wall to maintain the expansion gap. Lay your first row of planks with the tongue side facing out. Ensure they’re perfectly straight—use a chalk line if needed. Secure them according to your flooring type: nail down for solid hardwood or click together for engineered floating floors.
Step 5: Continue Installing Rows
Work row by row, staggering the seams by at least 6 inches for stability and aesthetics. Connect each plank by angling it into the previous row’s groove, then tapping it gently with your tapping block. Cut planks as needed to fit around doorways or obstacles. Keep checking that the rows remain straight as you progress.
Step 6: Install the Final Row
The last row often requires rip-cutting planks to fit the remaining space while maintaining your expansion gap. Use a pull bar to snug the final planks into place since you won’t have room to use a tapping block.
Step 7: Finishing Touches
Remove all spacers and install baseboards or quarter-round moulding to cover the expansion gaps. Install transition strips in doorways to create smooth transitions between rooms. Clean your new floor thoroughly and follow the manufacturer’s care instructions.
Pro Tips: Always wear safety gear when cutting, order 10% extra material to account for waste and mistakes, and never rush—patience ensures professional-looking results.
At Progress Floor, we offer both premium wooden flooring products and professional installation services. Whether you’re tackling this as a DIY project or prefer expert installation, we’re here to help every step of the way.